+ Getting Started
+ Displaying the Campaign
- Campaign Settings
- Set who should see the Campaign
- Set When the Popup should be displayed
- Set Where the Popup should be displayed
- How to embed Brave Content inside Posts & Pages
- Schedule Popups to display on selected Dates/Days
- Opening a Popup On Click
- A/B testing Campaigns
- Display Dynamic Text inside Campaigns
- Creating Personalized Campaigns
+ Creating Forms
- Creating a Contact Form
- Creating a Newsletter Subscription Form
- Creating a Quiz Form
- Creating a multi-step Survey Form
- Saving Form Submissions in WordPress
- Inserting 3rd Party Forms instead of Brave Forms
- Let Visitors Download a file when they submit the Form
- Let Visitors Optin with their Social Accounts
- Send Automated Email Replies when someone submits the Form
- Conditionally Display Form Fields
- Connect your Form to Zapier
- Advanced Email Validation
- How to save form submissions in Google Sheets
- Track Form Submission with Facebook Pixel
+ Tracking the Campaign
- Setting up a Campaign’s Goal Tracking
- Brave Advanced Analytics
- Get Real-time Email Notification When a Campaign Goal is completed by a visitor
- Get Real-time Push Notification When a Campaign Goal is completed by a visitor
- Get Real-time SMS Notification When a Campaign Goal is completed by a visitor
- Track Campaign Goals with Google Analytics
+ Integrations
- Integrate AWeber
- Integrate ActiveCampagin
- Integrate Mailchimp
- Integrate GetResponse
- Integrate Hubspot
- Integrate Mailjet
- Integrate Mailer Lite
- Integrate Convertkit
- Integrate Campaign Monitor
- Integrate ConstantContact
- Integrate Moosend
- Integrate Sendgrid
- Integrate SendPulse
- Integrate Sendinblue
- Integrate Ontraport
- Integrate Klaviyo
- Integrate Pabbly
- Integrate Zoho Campaign & CRM
- Integrate Mailpoet
- Integrate The Newsletter Plugin
- Integrate Mailster
- Integrate Sendy
- Integrate Omnisend
- Integrate Fluent CRM
- Integrate Neverbounce Email Validation
- Integrate Zerobounce Email Validation
- Integrate Truemail Email Validation
- Integrate Facebook Login
- Integrate Google Login
- Integrate LinkedIn Login
- Integrate Google Recaptcha
+ Tutorials
+ Woocommerce
+ Developers
Brave Elements
Brave lets you create Amazing Conversion widgets with easy to use interface and customizable elements like text, images, shapes, buttons, forms etc. You can drag and drop these elements to your campaign and then customize their looks and functions by changing their options.
Brave comes with 18 elements:
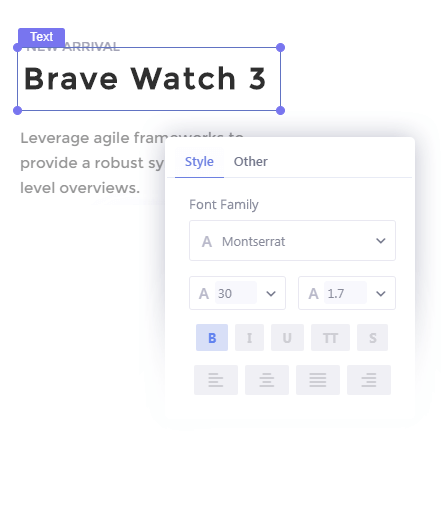
Text
Let’s you add text in your Popup. You can customize the text with 800+ free fonts and change their color, size and apply lots of other modification. You can also make this element clickable.
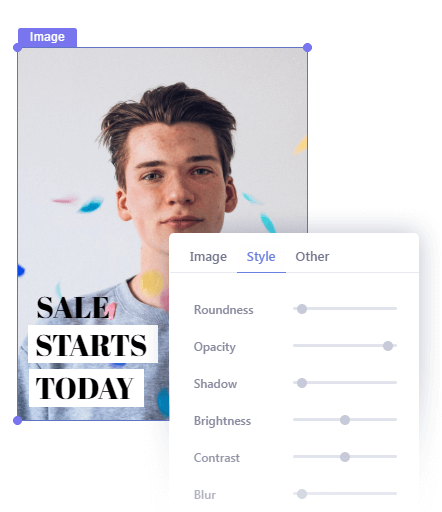
Image
Let’s you add Image in your Popup. You can insert Images from your Library or choose from 1.3 million copyright free images from Pixabay. You can also insert gif images by choosing from millions of gifs from Giphy. You can add various effects and resize the images any way you want. You can also make the images clickable.
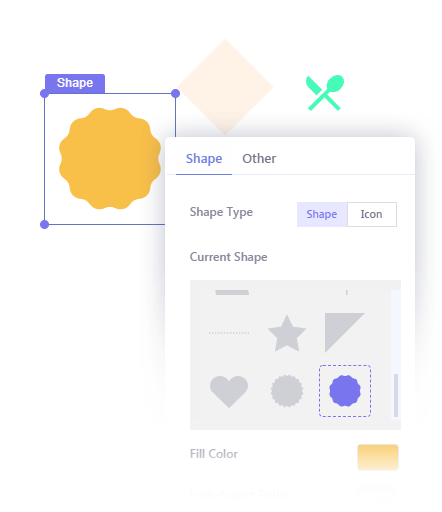
Shape
Let’s you add Custom Shapes for design purpose. There are 18 shapes that you can insert in your popup. You can also display icons with this element. Just click the “Icon” tab from the element’s settings panel and you will be able to choose from 40 thousands free Icons. You can also make this element clickable.
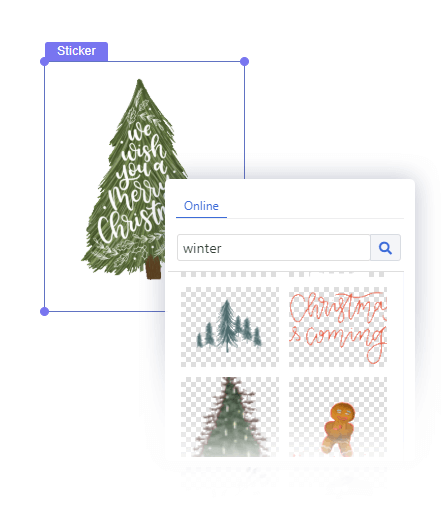
Sticker
Stickers are animated images from Giphy that you see on Instagram and Facebook. We integrated Giphy to Brave Popup editor so you can insert eye catching animated stickers from hundreds of thousands of stickers provided by Giphy for Free. The Animated stickers are sure fire way to get your visitor’s attention.
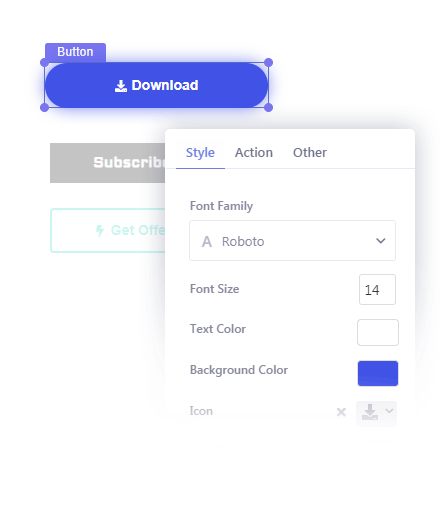
Button
You can easily add buttons to your Popups with this element. You make the button perform various types of actions when the visitors click the button:
- Open a Link
- Go to Another Step
- Close the Popup
- Run Custom JavaScript Function.
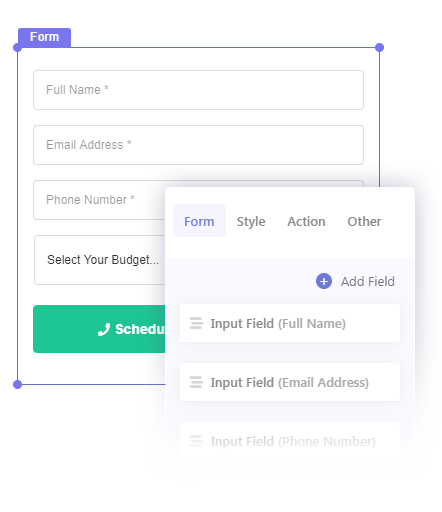
Form
The Form element is one of the most customizable elements that can be used to collect any type of data from visitors or subscribe visitors to your newsletter. With the Form element you can create
- Contact Forms
- Newsletter Subscription Forms
- Multi-step Survey Forms
- Poll Forms
- And any other type of forms that you can imagine.
The Form Element comes with 10 types of fields that you can add to your Form:
- Input: lets you add text input fields. This field can be used to collect name, emails, websites etc.
- Textbox: Lets you add textarea field that can be used to collect long text messages.
- Dropdown: Lets you add Dropdown fields to your Form.
- Checkbox: Lets you add Checkbox fields to your Form.
- Radio: Lets you add Radio fields to your Form.
- Image Select: Lets you add select fields with Images.
- Date: This field lets your visitors select dates.
- Rating: You can display rating fields to your form with this field.
- Custom Label: You can display Custom Text labels inside your form between fields.
- Step Divider: When you add this field between fields, the Form gets divided in multiple steps.
You can perform multiple actions together when a created form is submitted by a visitor. When submitted they can be set up to
- Send you the form data to your specified email addresses
- Add users to a Newsletter(if an email address field is present in the form)
- Send automated email reply to the visitor
- Send the from data to 1500+ apps with Zapier and Integromat
- Track the Form submission by sending an event data to Google Analytics.
Once the form is submitted, the Visitor be show a custom message, start a ebook download, redirect to another page or another step of the Popup.
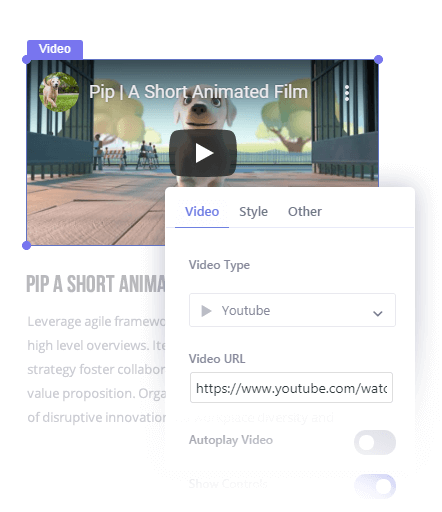
Video
You can display Youtube, Vimeo or Custom videos with this Element. When you are using a custom video, you can also use it as a background element by resizing it anyway you want. You can choose of thousands of free short videos from Pixabay.
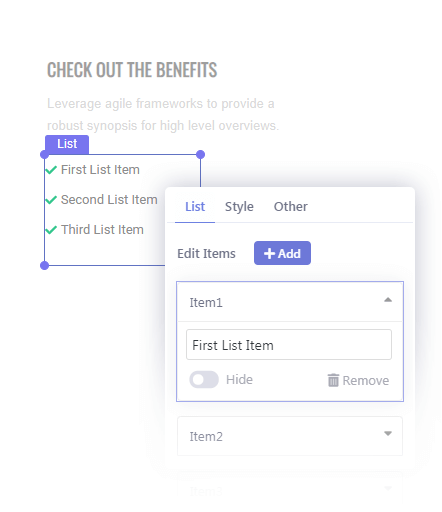
List
You can insert List or bullet points to convey your message clearly with this element as it lets you Insert Lists to your Popup. You can change text color and use any type of icons as the bullet.
Timer
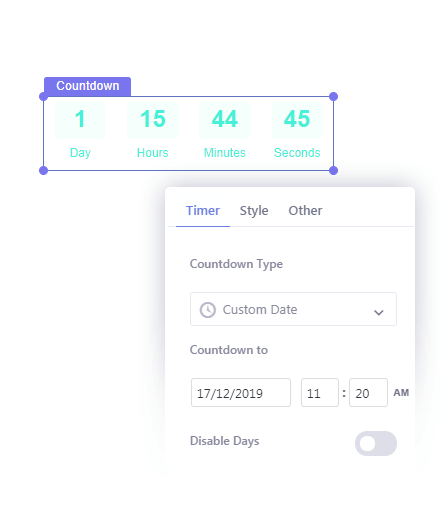
The timer element lets you display Countdown Timer to your visitors. Adding Countdown timers in your popup is a great way to increase conversion rates. You can set the timer to a specific time or you can create evergreen timers.
Evergreen Timers are timers that start when a visitor enters a page and run for specified time. So Instead of ending the count on a specific date, the countdown starts and ends when the visitor enters the site to your specified time. This is a great way to Increase sales. For example, you can set a top bar popup with an evergreen timer set to 30 minutes with a special offer. When the visitor enters the page and the time starts for 30 minutes and will end in 30 minutes which urges the visitor to take the offer and make the purchase before the time runs out.
Dynamic
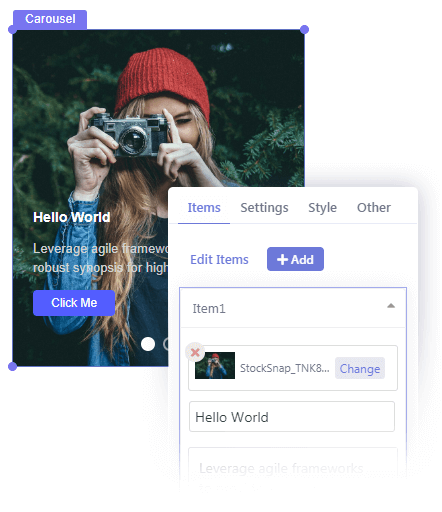
Dynamic Elements Lets you create repeatable fields with predefined styles. You can display Sliders, Custom News, Feature Boxes to display your Content. You can also create FAQs, Custom User Reviews and Testimonials with this Element.
Search
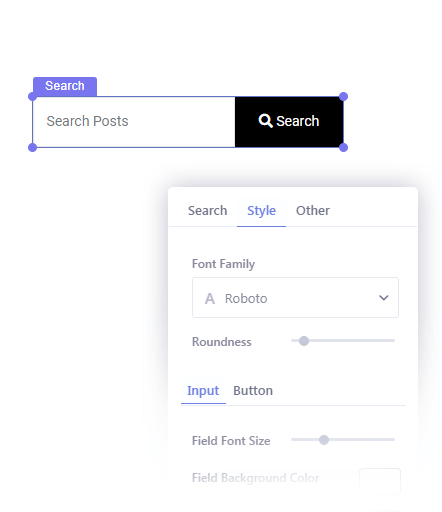
Search elements let you add a Functional WordPress Search form in your Popup. You can customize the forms look and make the search results open in a new window or in current one.
Login
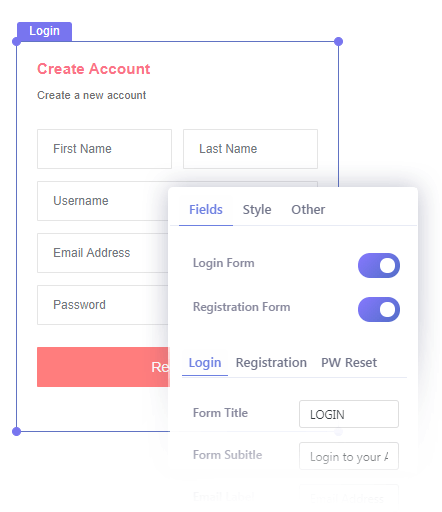
The Login Element lets you insert functional WordPress Signup/Login form with reset password Option. It’s a great a way to provide a quick access to login form to your existing registered WordPress users. You can also let you users Signup / login to your site with Facebook, LinkedIn & Google.
You can create a small popup and insert the login element and then add a custom “Login” menu in your website’s menu from Appearance > Menus. You can then make the Popup appear when the menu is clicked from the Popup’s Settings section.
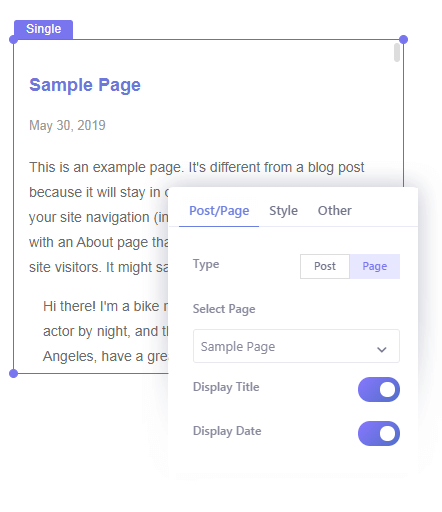
Post
With this element you can embed a certain post or page into your Popup. This is element is great for Privacy Policy Popups. And since the Text element doesn’t come with linking feature or advanced content editing features, you can create a new page and customize the page with Gutenberg blocks and then display the content of that page within a popup.
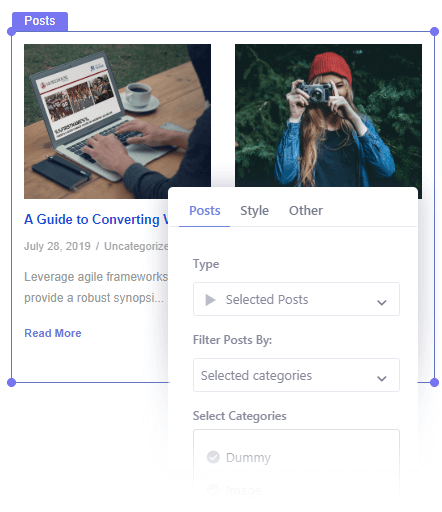
Posts
You can increase your Post Views by adding Posts element in your Popup. This element is customizable and comes with 3 types of layouts. You can also filter the posts by categories, tags or only select custom post. You can also display related Products when they are displayed on Single Post pages.
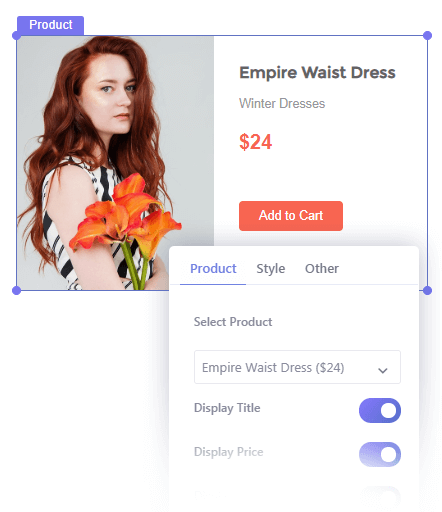
Product
The Product element lets you display a Single Woocommerce Product with the purchase in your Popup. This is a great way to introduce new Product throughout your whole site.
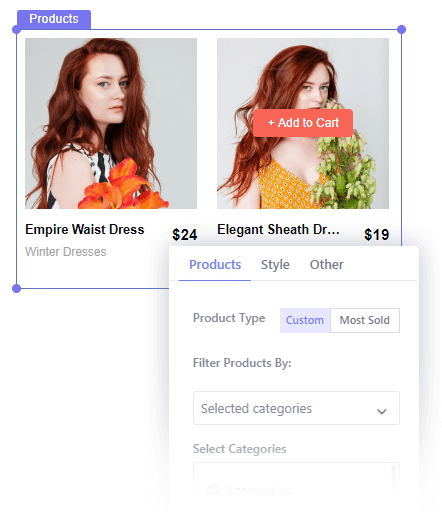
Products
The Products element lets you insert Multiple Woocommerce products in your Popup. This is a great way to increase product sales. You can filter what type of products you want to display by category, tags or only handpicked products. You can also display the most sold products.
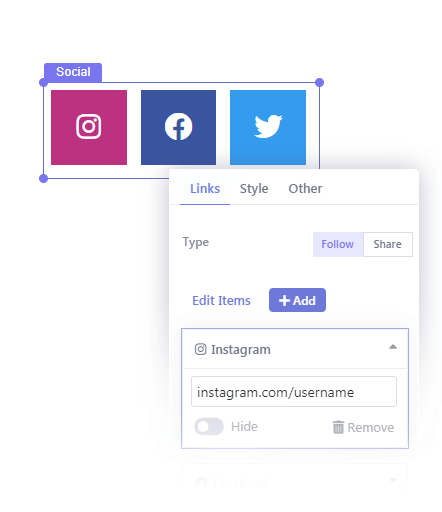
Social
This element is great for increasing Social Engagement. You can display Social Follow Links or Social Share Buttons. You can display around 40 Social icons and customize them any way you like.
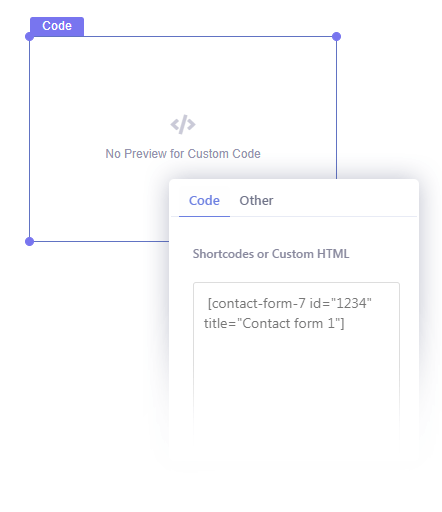
Code
The Code element lets you insert any custom html/JavaScript code or WordPress shortcodes within your Popup. You can insert 3rd party forms like Ninja forms, Contact Form 7 forms, 3rd party sliders, Facebook, Pinterest widgets etc.
Clickable Elements
Some of the Elements can be made clickable. They are:
- Text
- Image
- Shape
- Sticker
- Button
You can make the button perform following actions when the visitors click the button:
- Open a Link
- Go to Another Step
- Close the Popup
- Run Custom JavaScript Function.
