+ Getting Started
+ Displaying the Campaign
- Campaign Settings
- Set who should see the Campaign
- Set When the Popup should be displayed
- Set Where the Popup should be displayed
- How to embed Brave Content inside Posts & Pages
- Schedule Popups to display on selected Dates/Days
- Opening a Popup On Click
- A/B testing Campaigns
- Display Dynamic Text inside Campaigns
- Creating Personalized Campaigns
+ Creating Forms
- Creating a Contact Form
- Creating a Newsletter Subscription Form
- Creating a Quiz Form
- Creating a multi-step Survey Form
- Saving Form Submissions in WordPress
- Inserting 3rd Party Forms instead of Brave Forms
- Let Visitors Download a file when they submit the Form
- Let Visitors Optin with their Social Accounts
- Send Automated Email Replies when someone submits the Form
- Conditionally Display Form Fields
- Connect your Form to Zapier
- Advanced Email Validation
- How to save form submissions in Google Sheets
- Track Form Submission with Facebook Pixel
+ Tracking the Campaign
- Setting up a Campaign’s Goal Tracking
- Brave Advanced Analytics
- Get Real-time Email Notification When a Campaign Goal is completed by a visitor
- Get Real-time Push Notification When a Campaign Goal is completed by a visitor
- Get Real-time SMS Notification When a Campaign Goal is completed by a visitor
- Track Campaign Goals with Google Analytics
+ Integrations
- Integrate AWeber
- Integrate ActiveCampagin
- Integrate Mailchimp
- Integrate GetResponse
- Integrate Hubspot
- Integrate Mailjet
- Integrate Mailer Lite
- Integrate Convertkit
- Integrate Campaign Monitor
- Integrate ConstantContact
- Integrate Moosend
- Integrate Sendgrid
- Integrate SendPulse
- Integrate Sendinblue
- Integrate Ontraport
- Integrate Klaviyo
- Integrate Pabbly
- Integrate Zoho Campaign & CRM
- Integrate Mailpoet
- Integrate The Newsletter Plugin
- Integrate Mailster
- Integrate Sendy
- Integrate Omnisend
- Integrate Fluent CRM
- Integrate Neverbounce Email Validation
- Integrate Zerobounce Email Validation
- Integrate Truemail Email Validation
- Integrate Facebook Login
- Integrate Google Login
- Integrate LinkedIn Login
- Integrate Google Recaptcha
+ Tutorials
+ Woocommerce
+ Developers
Integrate ConstantContact
Step 1: Go to this page: https://constantcontact.mashery.com/page and create an account.
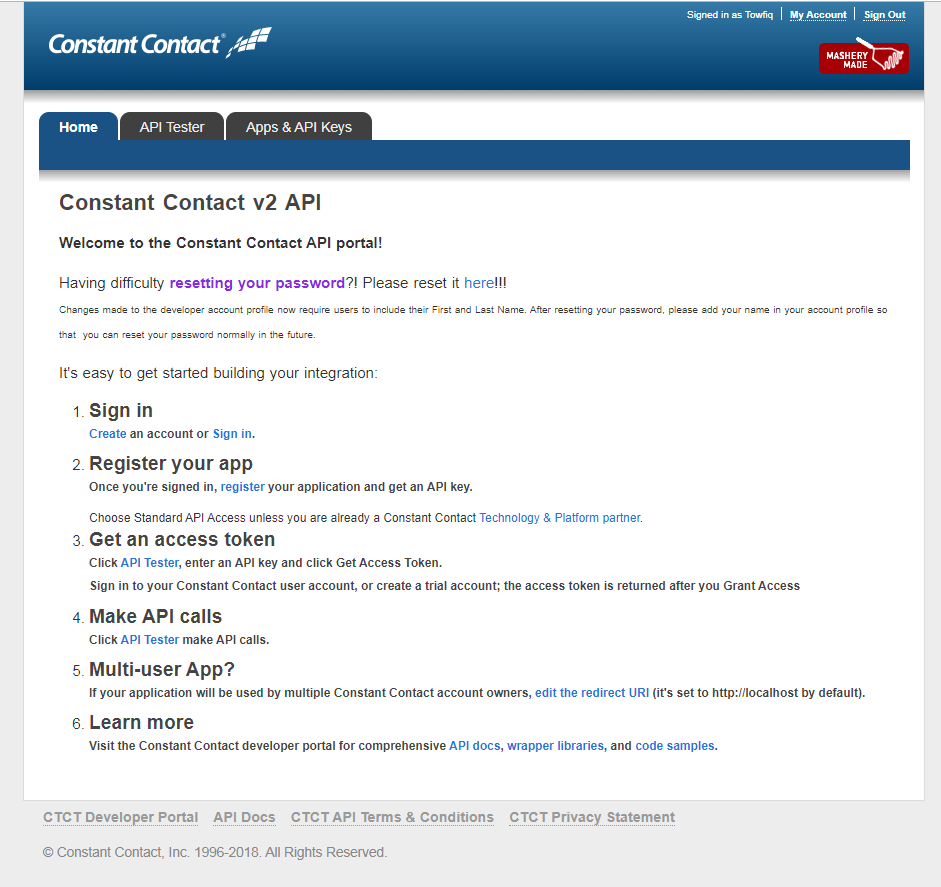
Step 2: Once you have created an account, sign in using through this page: https://constantcontact.mashery.com/login/
Step 3: Then head back to the https://constantcontact.mashery.com/page and click the Register link.
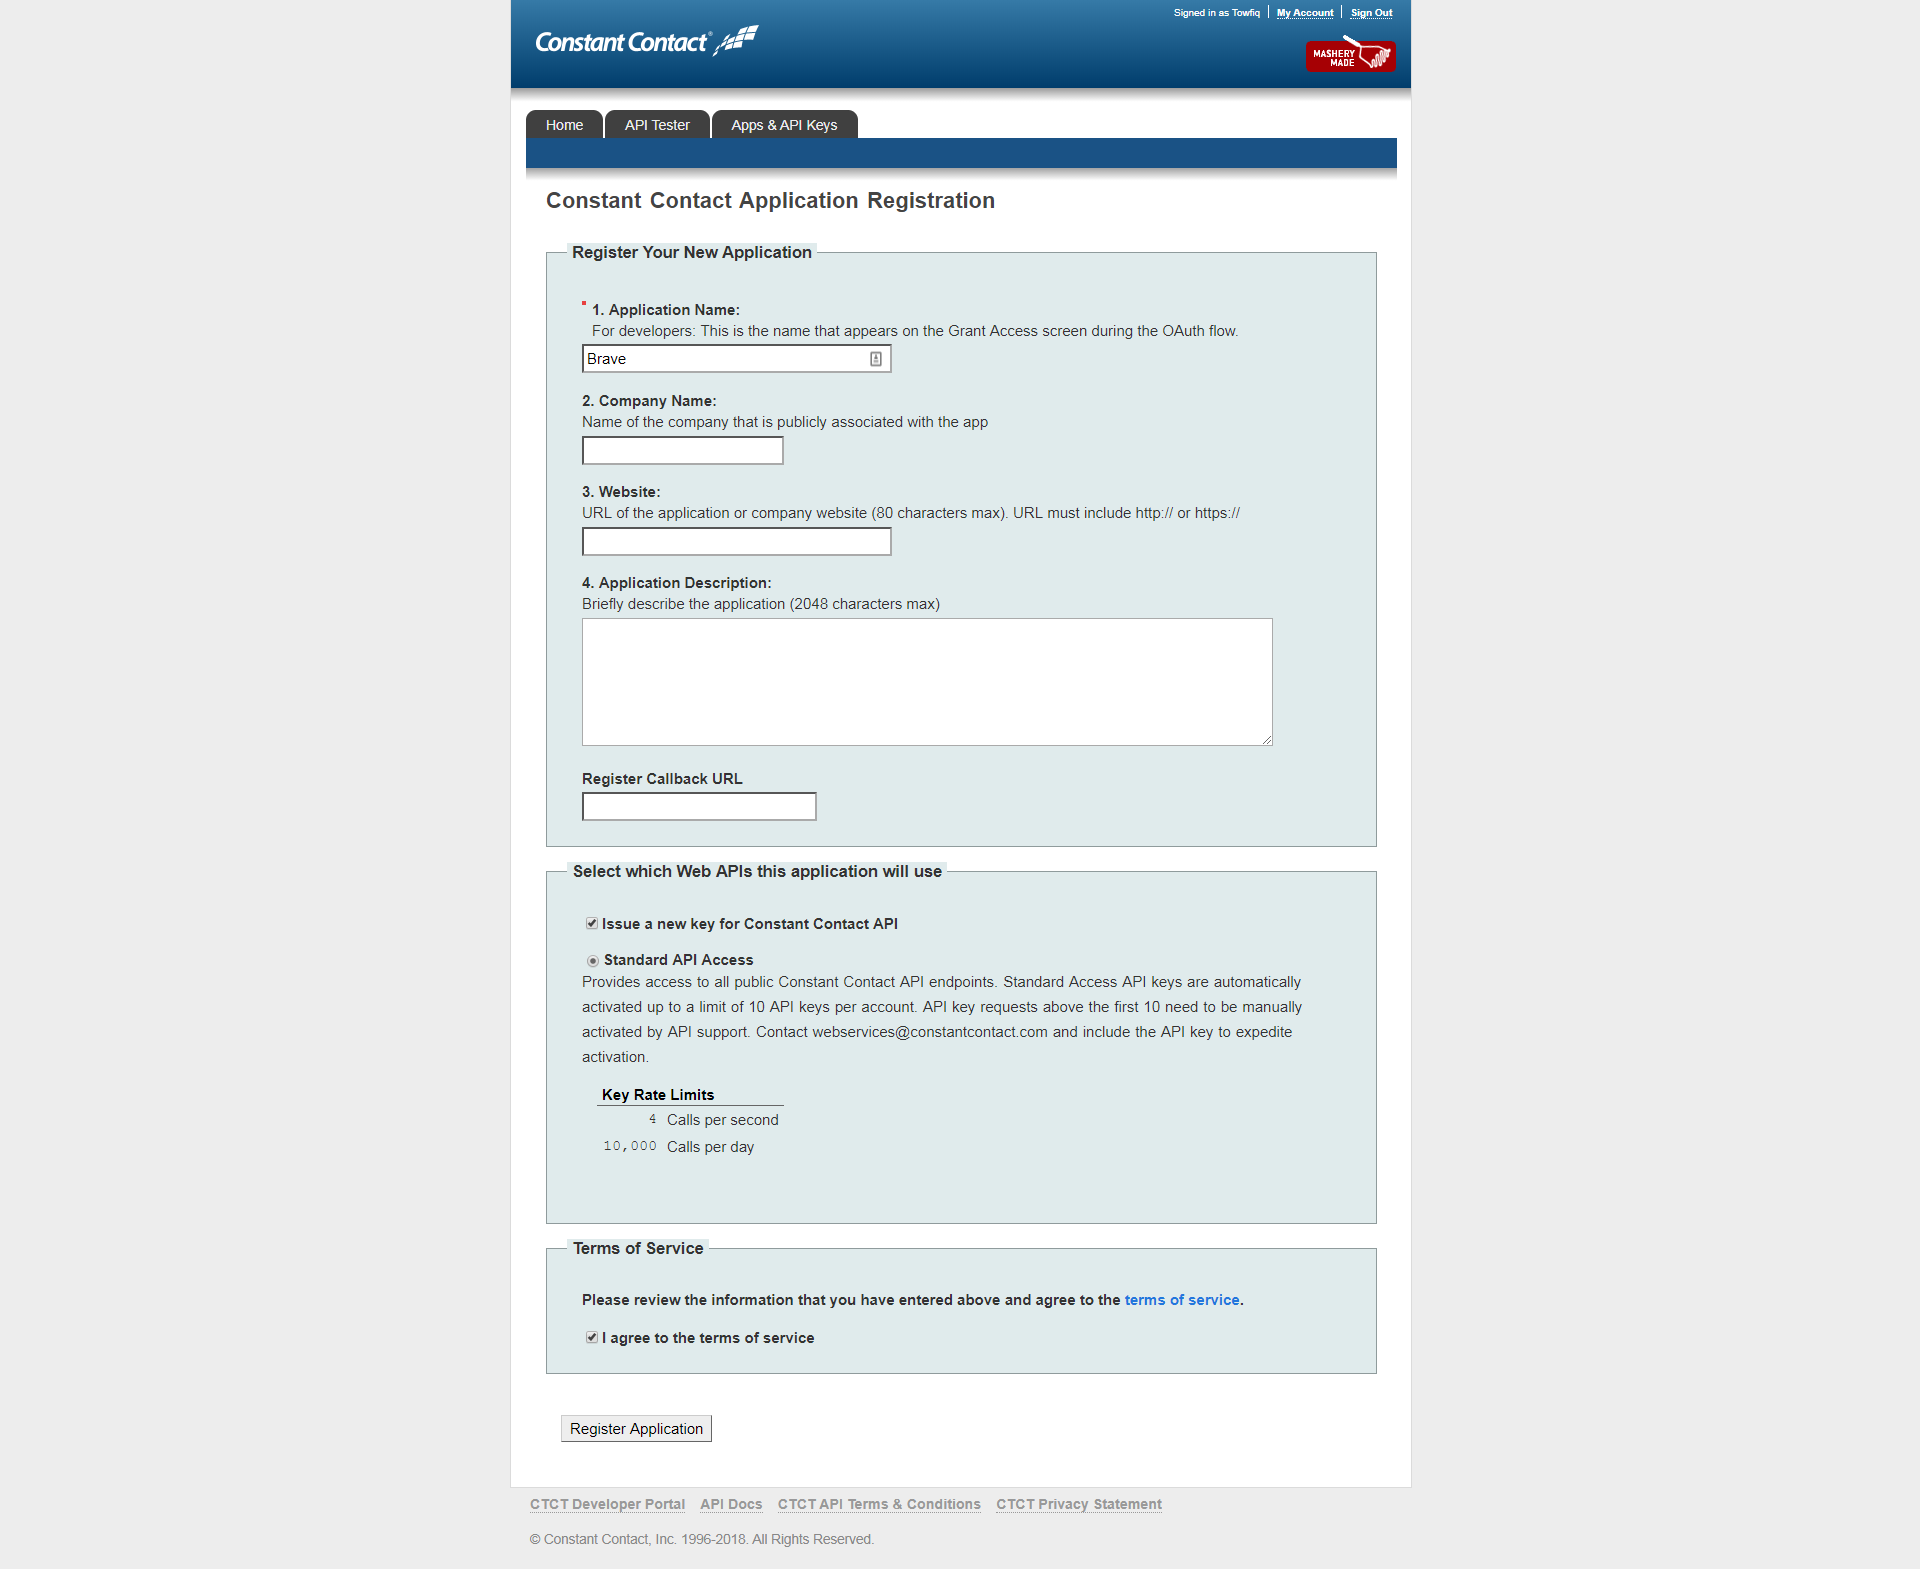
Step 4: You will be redirected to Application creation page.
Step 5: In the Application Name field, write “Brave” and then scroll down and check the “I agree to the terms of service” checkbox and click the Register Application button.
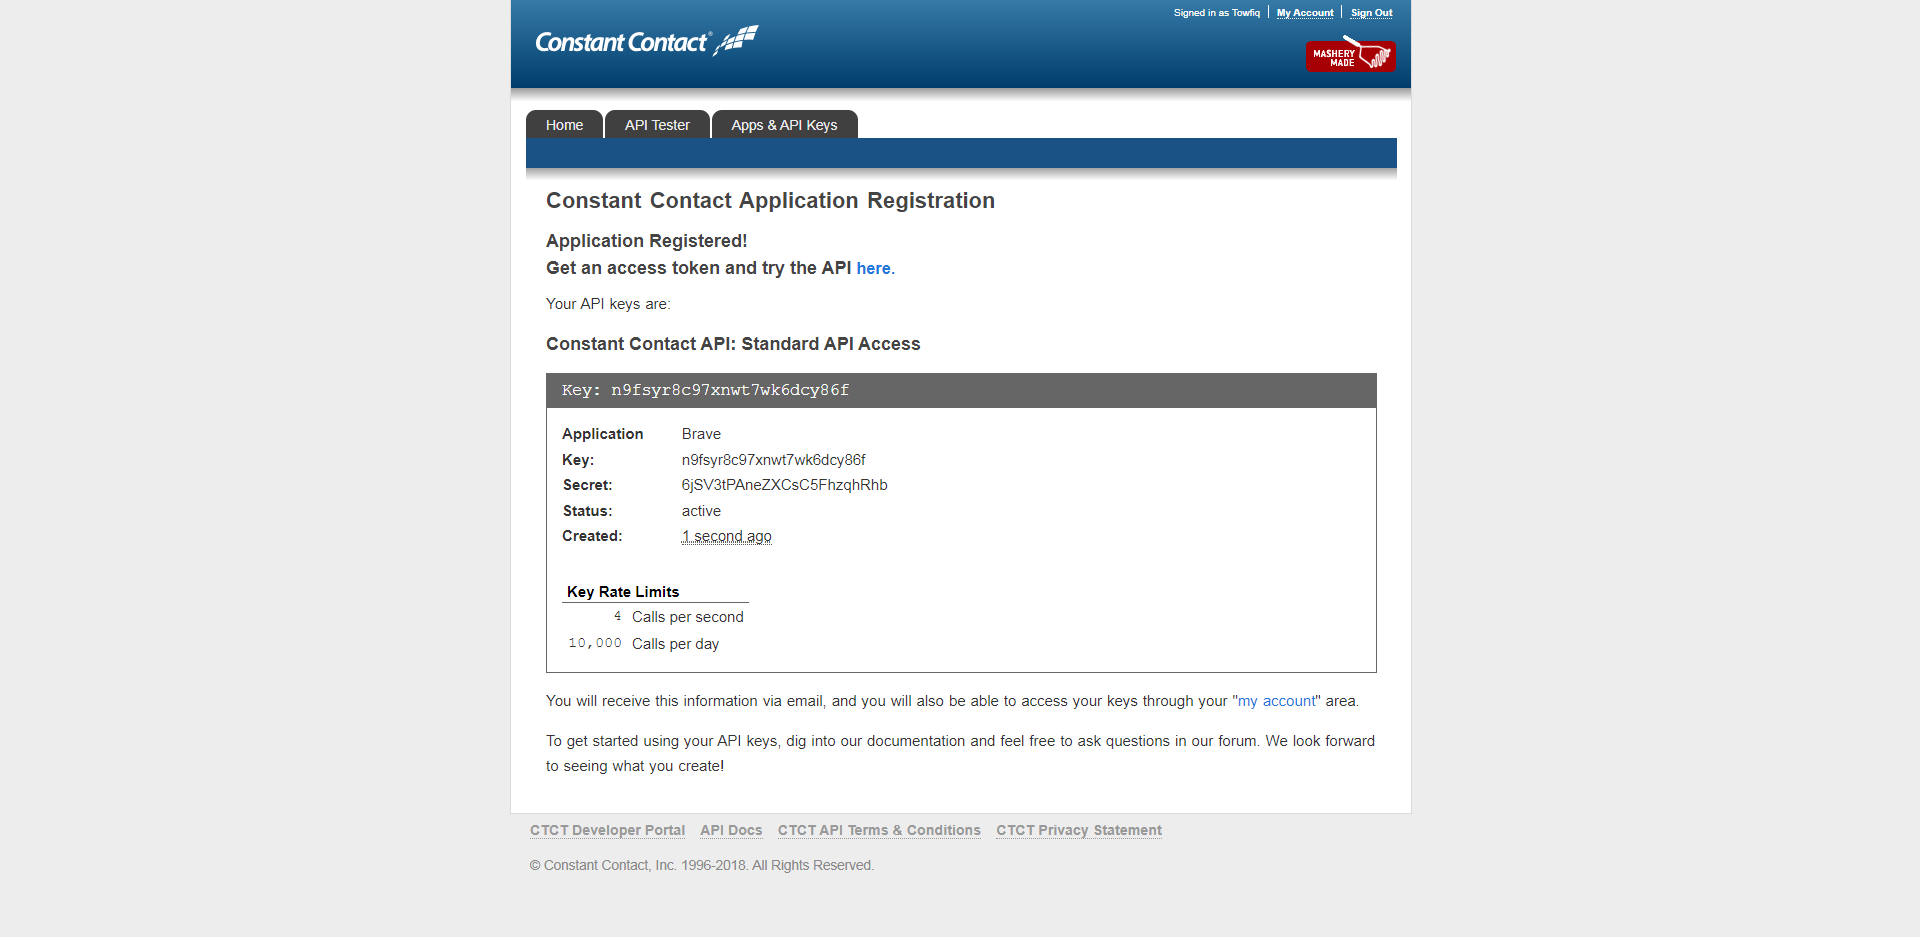
Step 6: Once the process is complete you will be redirected to the New Application’s details page.
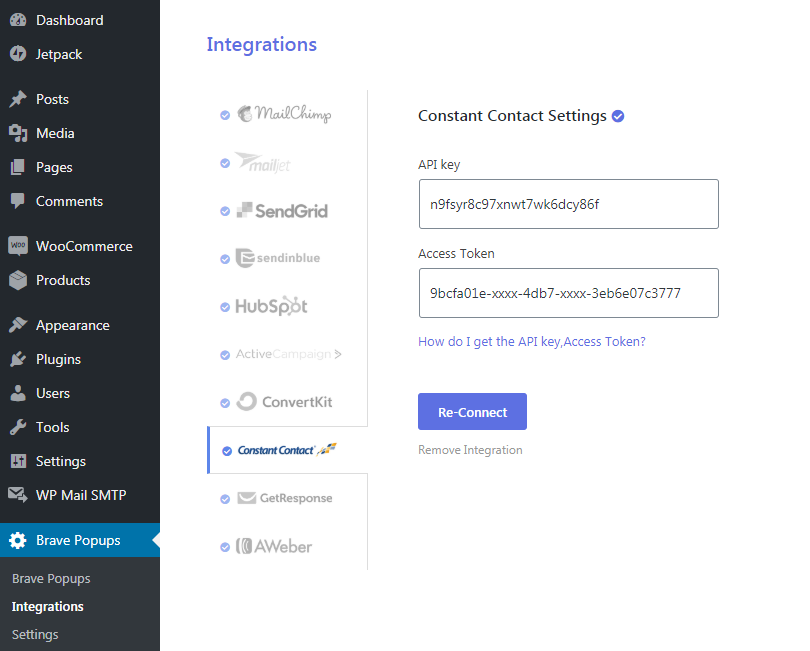
Step 7: You will see the Application key, copy it and paste it in the Brave’s ConstantContact Integration page’s API Key field.
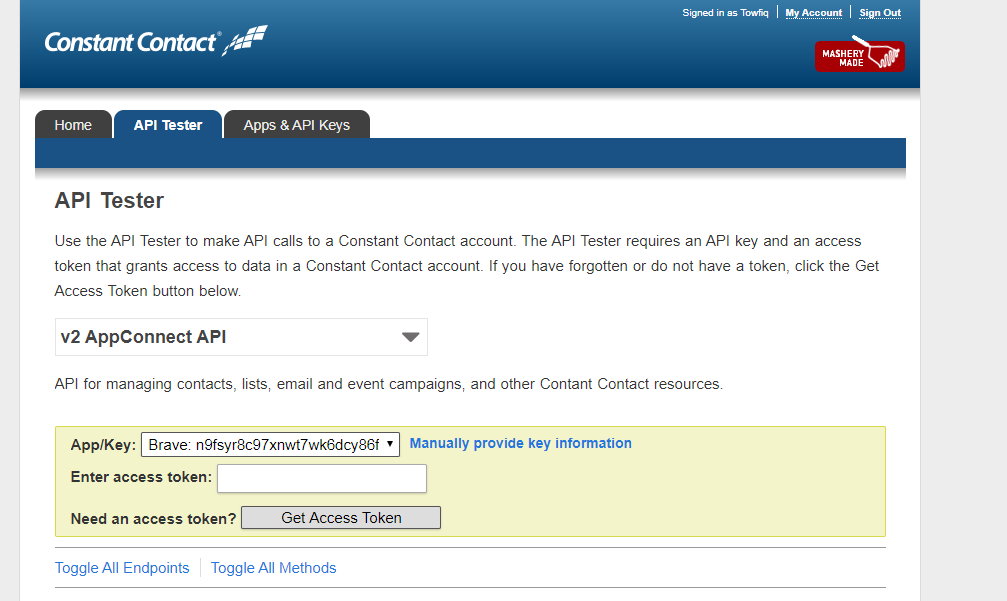
Step 8: Then go back to the Constant Contact’s application page and click the “Get an Access Token” and try the API here” link from the top.
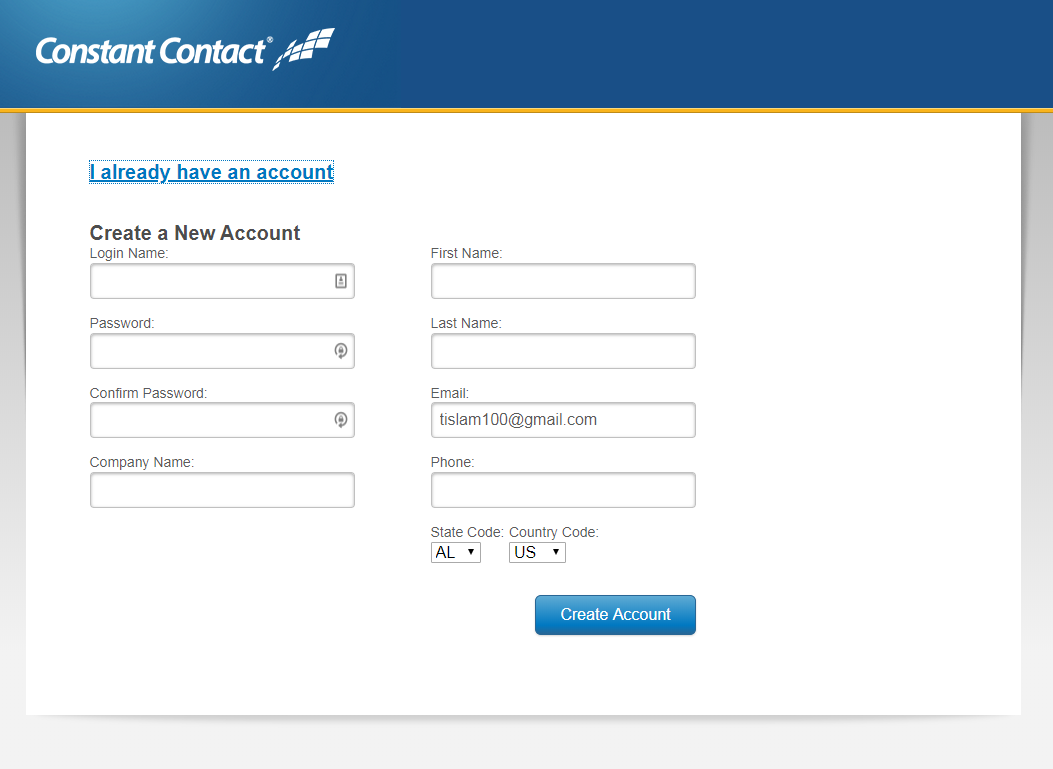
Step 9: A new window will open up, where you will see a Get Access Token button. Click the button and you will be redirected to an account creation page.
Step 10: Click I already have an account
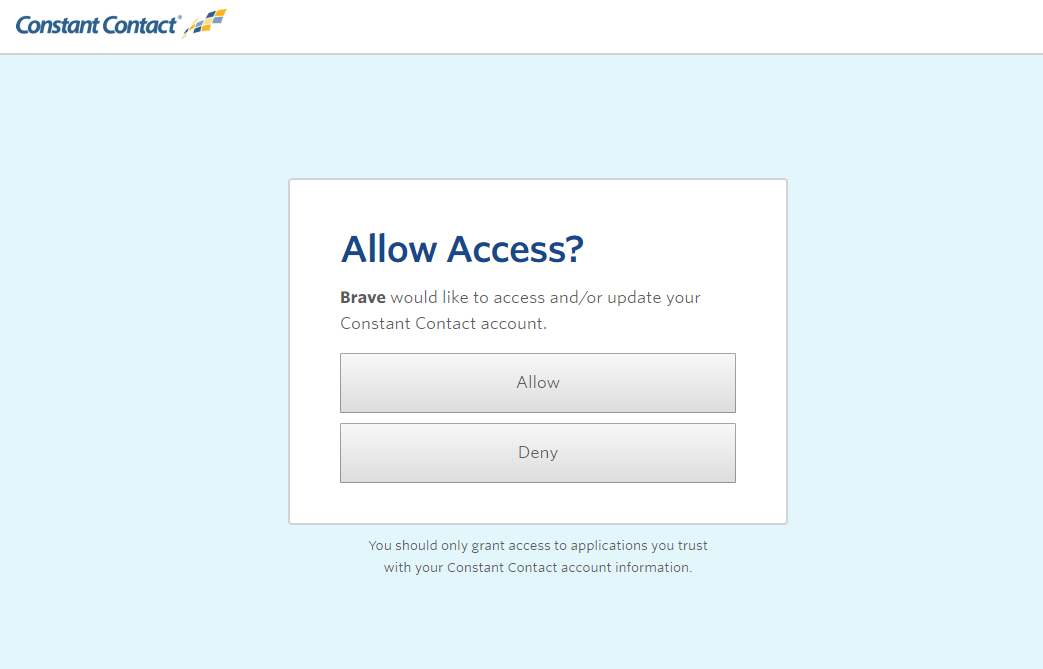
Step 11: Once you login, click the Allow
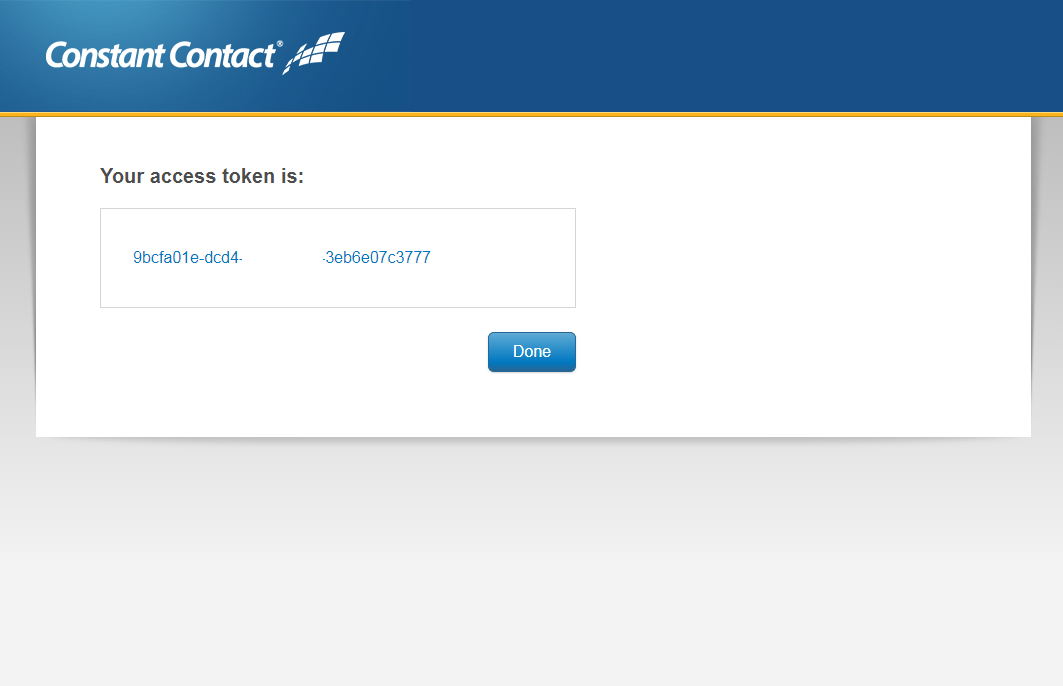
Step 12: You will be redirected to a page, where you will be given an Access Token. Copy the access token and paste it Brave’s constantcontact Access Token Field.
Step 13: Finally Click Connect to connect your ConstantContact account.
Now when you add a Form and then go the Form’s Action Settings and click the “Add user to a Newsletter Tab” you will be able to access the ConstantContact Integration settings that will let you select the ConstantContact List where you want the add the visitor to.